New Blogpost and Camera

After quite along hiatus I decided get some stuff going again. I will try to update more on the blog – as you can propably see on the history the last 2 years have not been very active.

With that out of the way I have finally made the decision to switch from Team Canon APS-C to Team Sony Full frame but I will definitely still be using my Canon Lenses with the Sigma MC-11 adapter, but lets get into some detail….

Back in 2006 when i decided to go DSLR I did make the right choice to invest in a rather cheap entry level DSLR and to focus my hard earned cash into decent lenses instead. Camera technology improves rapidly… but lenses can be a good long time investment.
I purchased my 2 mostly used lenses before a longer trip to Scandinavia (Denmark and mostly Norway) the Canon 17-40 4.0 L USM and the Canon 70-200 4.0 L USM – and I still use the to this day after 15 years…
At some point I upgraded to the EOS 500D and eventually the Canon EOS M5 making the switch to Mirrorless in 2018.

At this point Canon was running the EF, EF-S and M lenses and eventually adding the RF lenses. I bought the M5 Travel and Explore Kit which came with both the EF-M Adapter and the EF M18-150 IS STM.
The EF-M 18-150 was my first ever IS lens and in the end I never used it because I will never sacrifice Image quality for light gear. If I take a long trip I will go full in when it comes to camera gear as I learned to appreciate taking my full camera gear up onto glaciers and highlands.

The M5 was technologically a very noticeable upgrade with a lot of features like remote shooting, tiltable screen and other stuff which in the end I mostly never used.
The M5 was the clear choice vs the M50 or the M6 back then because I shoot with a view finder 90% of the time and getting an extra viewfinder and attaching it did not sound like a viable option to me.

A bit later Canon revealed the EOS R with another set of lens and my next future upgrade was most likely going to be Full Frame and when i was considering getting a new camera in August 2021 the R series was definitely on the scope.
The Upgrade from the M5 was definitley going to happen as I was not happy with the ISO performance especially with Astrophotography being one of my favorite activities. I will include the update with some comparisons later.

Another negative for me was the handling of the M5 – with a big lens attached it just feels very awkward and I was not really happy with the build quality. For street photography the M5 is still a great choice especially with the EF-M 22m 2.0 pancake which gives you the classic 35mm on APS-C on a very low profile setup.

I have always been keeping an eye on the Sony development in the last few years especially with the Alpha 6xxx series and looking at a lot of reviews even recommended it to entry photographers that just wanted a decent camera for every day snapshots and travel photos.
A7ii or A7iii was the main choice for me at this even even tough both cameras can be somewhat considered “outdated” in 2021 and the features of the A7iii just convinced me to go the extra mile and invest in better ISO noise and autofocus.

I did decide to take the 28-70 kit lens along as I was yet to make some experience with – a decision which i mostly not necessarily regret but the end up in on-dmenad-standby and never being really used.

Here are some interesting facts regarding lenses I used in the past 15 years that i pulled of the metadata in lightroom with some additional info:

– the statistic may be off a bit as I did count both Raw and Jpegs but even since 2006 I hardly ever shoot in jpg and mostly its on accident or just take the occassional snapshot in Auto mode
– in some cases I did not get a good exif read regarding the make of the lenses but – yeah a 17-40mm in the exif data is pretty obvious. The only real confusion here was mostly on 50mm where over time I upgraded the old Canon EF 50mm 1.8 to the Canon 50mm 1.8 STM
-my Samyang 14mm F2.8 is not included as it does not write into exif data

So yeah – besides the 17-40 and 70-200 i really only need to pack the 50 1.8 put hey – I always go all in…

To be continued…


CyanogenMod10 on the GT-P7501 and GT-P3100

Since the ICS update for the Galaxy Tab 10.1n (German Version of the 10.1 GT-P7500) still has yet to see an OTA update and I was eager to try out Jellybean. I rooted both my Galaxy Tab 10.1n and my Galaxy Tab 2 7.

Galaxy Tab 10.1n
The 10.1n is identical to the internationally shipped 10.1 (aka GT-P7500). The only difference is the Design due to the patent dispute with Apple in Germany.

XDA: Galaxy Tab 10.1 subforum
XDA: How to Root the 10.1

Odin can be used to flash both Tablets, so keep it handy if you want to experiment in the future.
The Current CM10 with Jellybean is very stable and seems to be working fine. I havent fund any critical bugs so far.

The thread for CM10 on the 10.1n can be found . Just remember to install the Googleapps as well if you want to use the Google Services (Market, Mail etc.)

Galaxy Tab 2 7
XDA: Galaxy Tab 2 subforum
XDA: Rooting the Galaxy Tab 2 7 (GT-P3100)

If you have installed the Samsung OTA onto the Stock ICS Version 4.0.4 you might experience some difficulties installing the ClockworkMod Recovery. With the OTA, the Recovery will not be persistent and is thrown out after you boot the Tablet into Android. The link above on rooting the P3100 includes the Fix for the nonpersistent Recovery Manager. It includes a fix-recovery Zip that will deal with the problem. The rooting process is pretty much identical to the 10.1

Why install JellyBean?
There is one good reason – performance boost. The User interface is a lot faster and more responsive than ICS. I will add a detailed test for CM10 once it has gone out of experimental status.
So far the sophistication on the Roms nowadays is so good, that even experimental builds work surprisingly well compared to 2-3 years ago from the postings about Custom Roms on the HTC Hero.

Hardware vs. Software Keyboards on Android Phones

I upgraded my HTC Hero to a Desire HD at the end of the year asking myself whether I wanted a phone with a touchscreen (Desire HD) or a hardware keyboard (Desire Z).

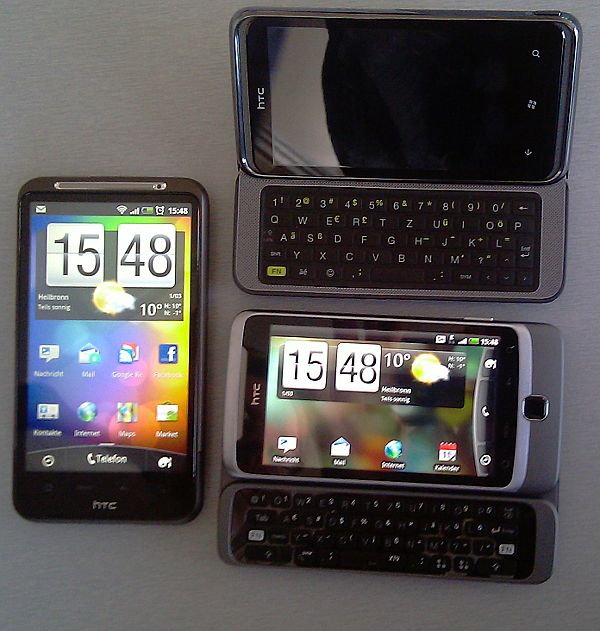
Desire HD, HD 7 Pro and Desire Z in comparison

The decision was in favor of the Desire HD because I was used to a touch-only interface on the Hero and the better tech-specs. Before i got my first Android phone, i had to make a similar decision between the HTC Dream (aka G1) and the HTC Hero (aka T-Mobile G2 Touch). This quickly turned out to be a no-brainer since the difference from a technical perspective was enormous.

Recently I got a new corporate mobile phone and selected a Desire Z since I did not want a second Desire HD and Windows Phones were out of the question for me.
Also, the Desire Z has a better battery life due to the fact that the big screen on the Desire HD is one of the biggest Power Drain on the phone.

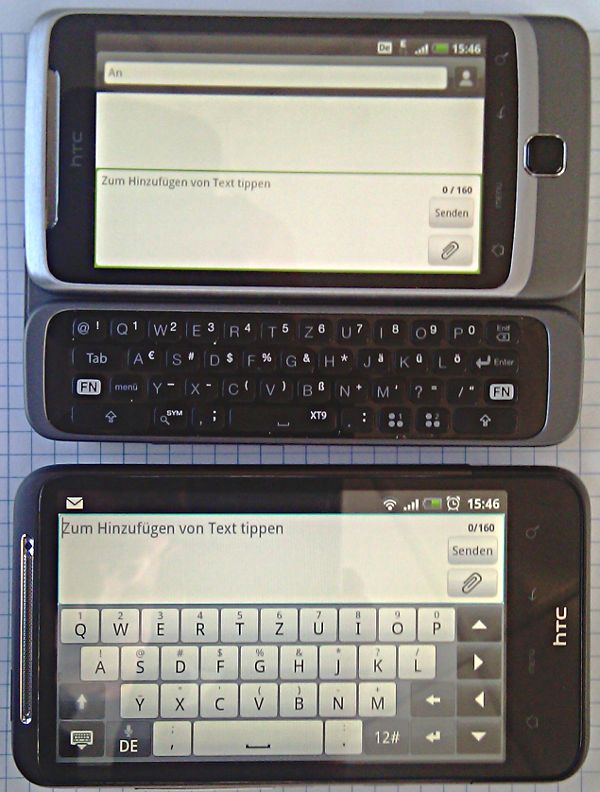
This gave me a good chance to compare both phones directly, focusing on the usability of the keyboard, not the tech specs or other features. This led to the following conclusions:

– the hardware keyboard on the Desire Z is not bad but on smartphones this size it is basically only usable with your thumbs due to the design
– the hardware keyboard allows for a better visibility of the screen since the software keyboard will take up about 60% of the screen space
– the software keyboard on the Desire HD is actually bigger than the hardware keyboard due to its larger form factor

– the usability of the Sense UI is not in any way affected by the use of a hardware or software keyboard, the only changes are really the input form fields.
– using the hardware keyboard makes writing longer messages a lot more comfortable if you are able to type with your thumbs
– you can place the Desire HD on a flat surface to allow a limited form of finger typing but due to the integrated camera on the back the surface is not completely flat which will make it harder to write when it is place on a solid surface
– this also works with the Desire Z with the base surface of the phone completely flat

Both keyboards have their pros an cons however they will obviously not be able to substitute for a full size keyboard, so longer Messages will most likely be avoided as far as possible.

I highly recommend trying both solutions to see what fits your taste.

Rooting the Desire HD: Quick n dirty

1. Set your Phone to accept unknown Software Sources in Menu -> Applications
2. Download Visionary+ from Modacos Page
3. Install the application (using an App manager such as Astro File Manager)
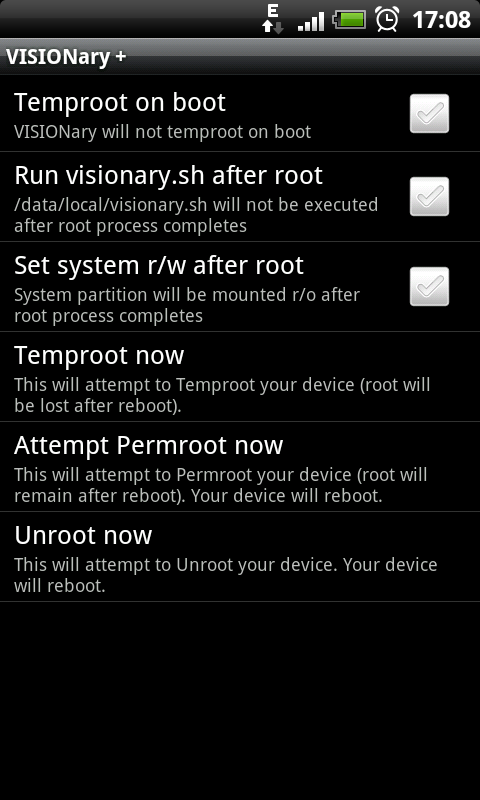
4. Launch Visionary+ and temproot the device using Temproot now
5. After aquiring temp root privileges, choose Attempt Permroot now, reboot and youre finished

Read the article in the link and use at your own risk!

Coming Up soon: My Desire HD Review, Customizing your Bootloader

Android: Using your local Amazon MP3 shop with WWE Roms

Some Android custom Roms are only available in WWE (World Wide English) which is not really a big deal. However there are a few exceptions when it comes to native characters or services based upon your locale.

Since I live in germany, i have a german Amazon account which I use for online purchase including my music.

When downloading AmazonMP3 from the market, the application will check your locale and set the Amazon Shop accordingly. In most cases of WWE Roms, this will be AmazonMP3(US) and you wont be able to purchase MP3s with your native account (DE in my case).

Using morelocale 2 you can manually set your locale to your preferred area and you should be able to use your native provider ignoring the WWE locale on your phone.

HD Playback in Ubuntu: VDPAU on an ION Netbook

GPU Video enhanced playback is becoming more and more important with the availability of low cost Netbook and Nettop CPUs.

If your device features an ION gpu (such as my Lenovo S12 netbook) you will be able to playback even 1080p HD Videos using VDPAU in Linux. These implementations are also available for Windows as DXVA (Direct X  Video Accelleration) or NVIDIAs CUDA interface (which is not limited to enhancing video performance).

To use VDPAU simply follow these steps:

  1. make sure you are using the restricted NVIDIA drivers
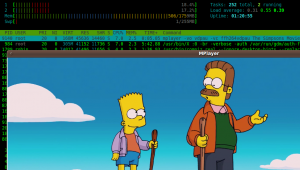
  2. grab a trailer from http://www.h264info.com/clips.html – I used the 1080p Simpsons movie trailer
  3. download mplayer-nogui: apt-get install mplayer-nogui
  4. playback using vdpau: mplayer -vo vdpau -vc ffh264vdpau The\ Simpsons\ Movie\ -\ 1080p\ Trailer.mp4 vdpau
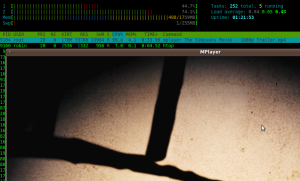
  5. For comparison: mplayer The\ Simpsons\ Movie\ -\ 1080p\ Trailer.mp4   novdpau
  6. When using a mplayer GUI such as smplayer or gnome-mplayer, make sure to select vdpau in the video playback options
  7. Enjoy Full HD video playback

Android 2.1 on HTC devices

A lot of 2.1 Roms with HTC Sense have been released for the Hero lately due to the availability of the HTC Droid Eris sources.

Stability and Speed is awesome!

Here is a quick review on VillainRom 3.1 for the HTC ( available at http://forum.xda-developers.com/showthread.php?t=622468 )

  • very Stable
  • great Performance
  • new HTC Sense and Widget features
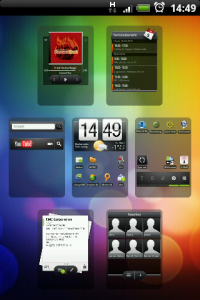
  • Screen Overview (press Home on the Homescreen or Pinch)
  • all working 2.1 features (Market, Navigation, Energy Manager)

The official release for the 2.1 Hero Rom is yet to come but regarding the VillainRom you wont have to wait any longer for the stable Android 2.1 with HTC Sense.

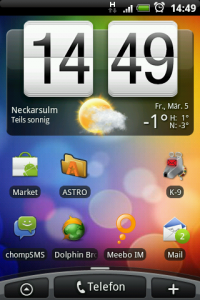
snap20100305_144933snap20100305_144941

Android 2.1 AOSP Rom: CKdroid

A new Rom for the GSM Hero has been released, this time its a AOSP based Rom without Sense UI. Android 2.1 has some great improvements on the widget making Sense Functions nearly obsolete, so AOSP should provide you with enough comfort.

The CKdroid also features LiveWallpapers, a function implemented on the Nexus one. If you want to waste your Battery and Performance for some useless show off crap… Here you go. I remove them via ADB.

Included in this release is a hack which will give you 2 more homescreens – summarizing it up to 5 on a standard Android device.

7 homescreens on the HTC Sense devices was a litle much, 3 was bearly working for me on the AOSP release, so 5 should do perfectly fine.

During the installation i had a rather annoying bug in the Android Market that sometimes stalls the installation for hours. I just wish the free apps were available outside the market. Good thing I had a backup of all apps with Astro. So I pulled the apk file for Astro from the default backup location /sdcard/backups/apps/ and installed via adb push. After that, I restored all my apps which still requires you to acknowledge each app when reinstalled which is still very annoying but at least i don’t have to wait for the market to work again.

CKdroid is very stable with some minor performance issues and will be my current stable Rom for everyday use.

The main projekt thread can be found here

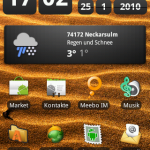
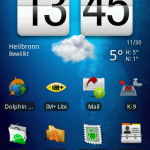
Comparison: the Android 2.1 standard interface and the HTC Sense UI in Android 1.5

snap20100125_170240snap20091130_134504