9 years ago I my broke down my 34g reef tank after it took quite a lot of my time compared to my freshwater tanks.
Howevery I have decided to give it a reboot – but this time with better planning and more redundancy and automation. After I introduce the new tank I will talk about the mistakes I made in the past – no one likes to talk about this but I think it is important to learn from my own mistakes and the mistakes of others.
After all – having set up so many systems I can assure you that you get better at it every time.
Tank Selection:
I wanted to go small/nano this time again but overcome the caveats of a nano tank (stability) with more automation. My experience with the 34g AIO was that in the end i replaced just about everything (Seria Marine Biotob Cube – 130 Lites)
A 20g (75 Liter) tank was enough for me to work with – after all I dont really want any fish and stick to invertibrae mosty.
After doing quite alot of research I decied to go with the Red Sea Max Nano Cube – and here are my reasons:
- the RSM has an option for filter socks without requiring a cabinet sump
- the included LED system is fully controllable and offers decent timing shedules
- comes with a decent cabinet option
- ATO included
ATO
I already made a first replacement as the ATO will only top off for 1-2 days max, so I added an Auto Aqua Nano ATO which will allow me to use a 20 Liter container which should last for about a mont (currently using 0,5 Liters a day with much cooling due to the temperatures here. The included float valve ATO is okay if you dont mind filling the ATO every 1-2 days.
My old tank was a closed tank which did not really require any top off really, however at some point the LED fixture in the tank died after about 18 months – most likely like the salt water evaporated into the electronics. After removing the top and adding a new LED fixture the evaporation was quite an annoying task. So definitely go with an ATO as it saves time and helps keeing the salinity stable.
LED – Red Sea ReefLED 50
Love the usability, however the delays between changing modes is a litle bit annoying as the light will turn off completely during the switch. I like the colors and I dont really see any reason to swap it for something else.
Temperature Controller
There are many aquarium temperature controllers but for now I am using an Inkbird 308 which i also use on my terrarium for the heat pad control. Will keep a close eye on it as im not sure how the metal probe will handle the saltwater – however there are waterproof probes as well. I have the wifi version but you dont really need it imho.
Skimmer
So far I am happy with it – took about 10 days for it to stop producing bubbles whis is normal for a new skimmer. Tunze Doc 9001 or 9004 would always be an option but at the moment im good.
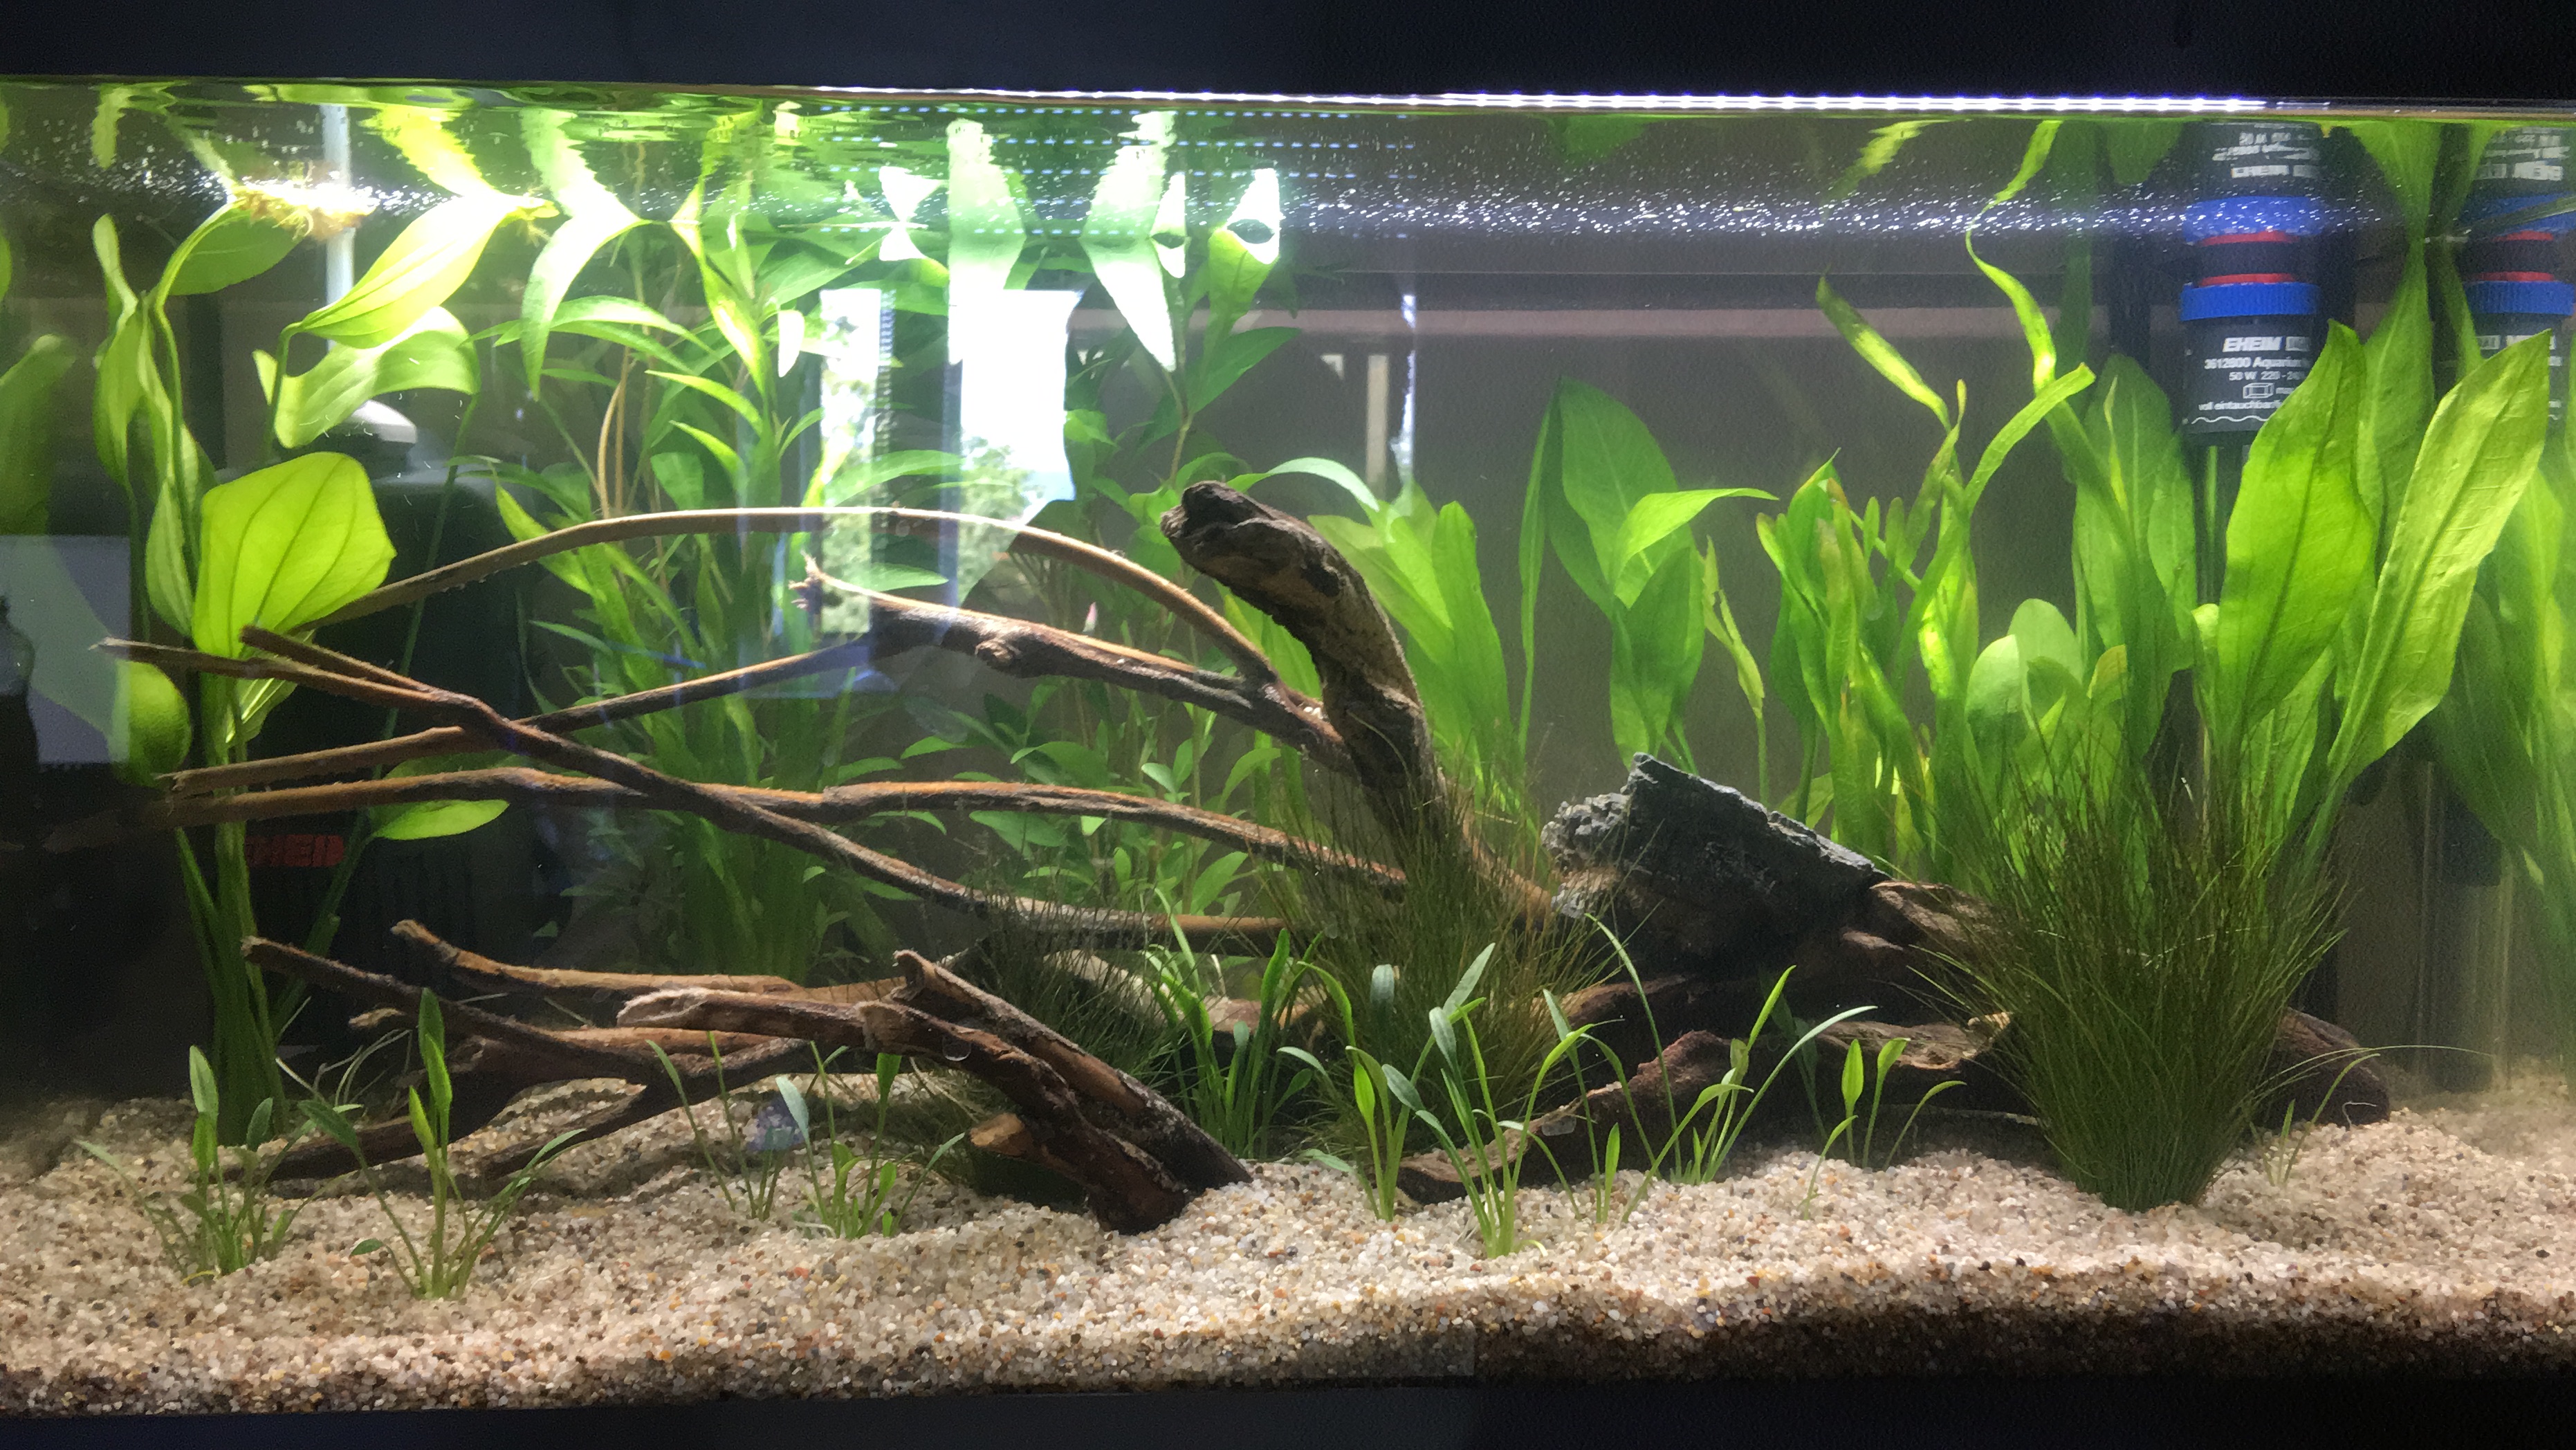
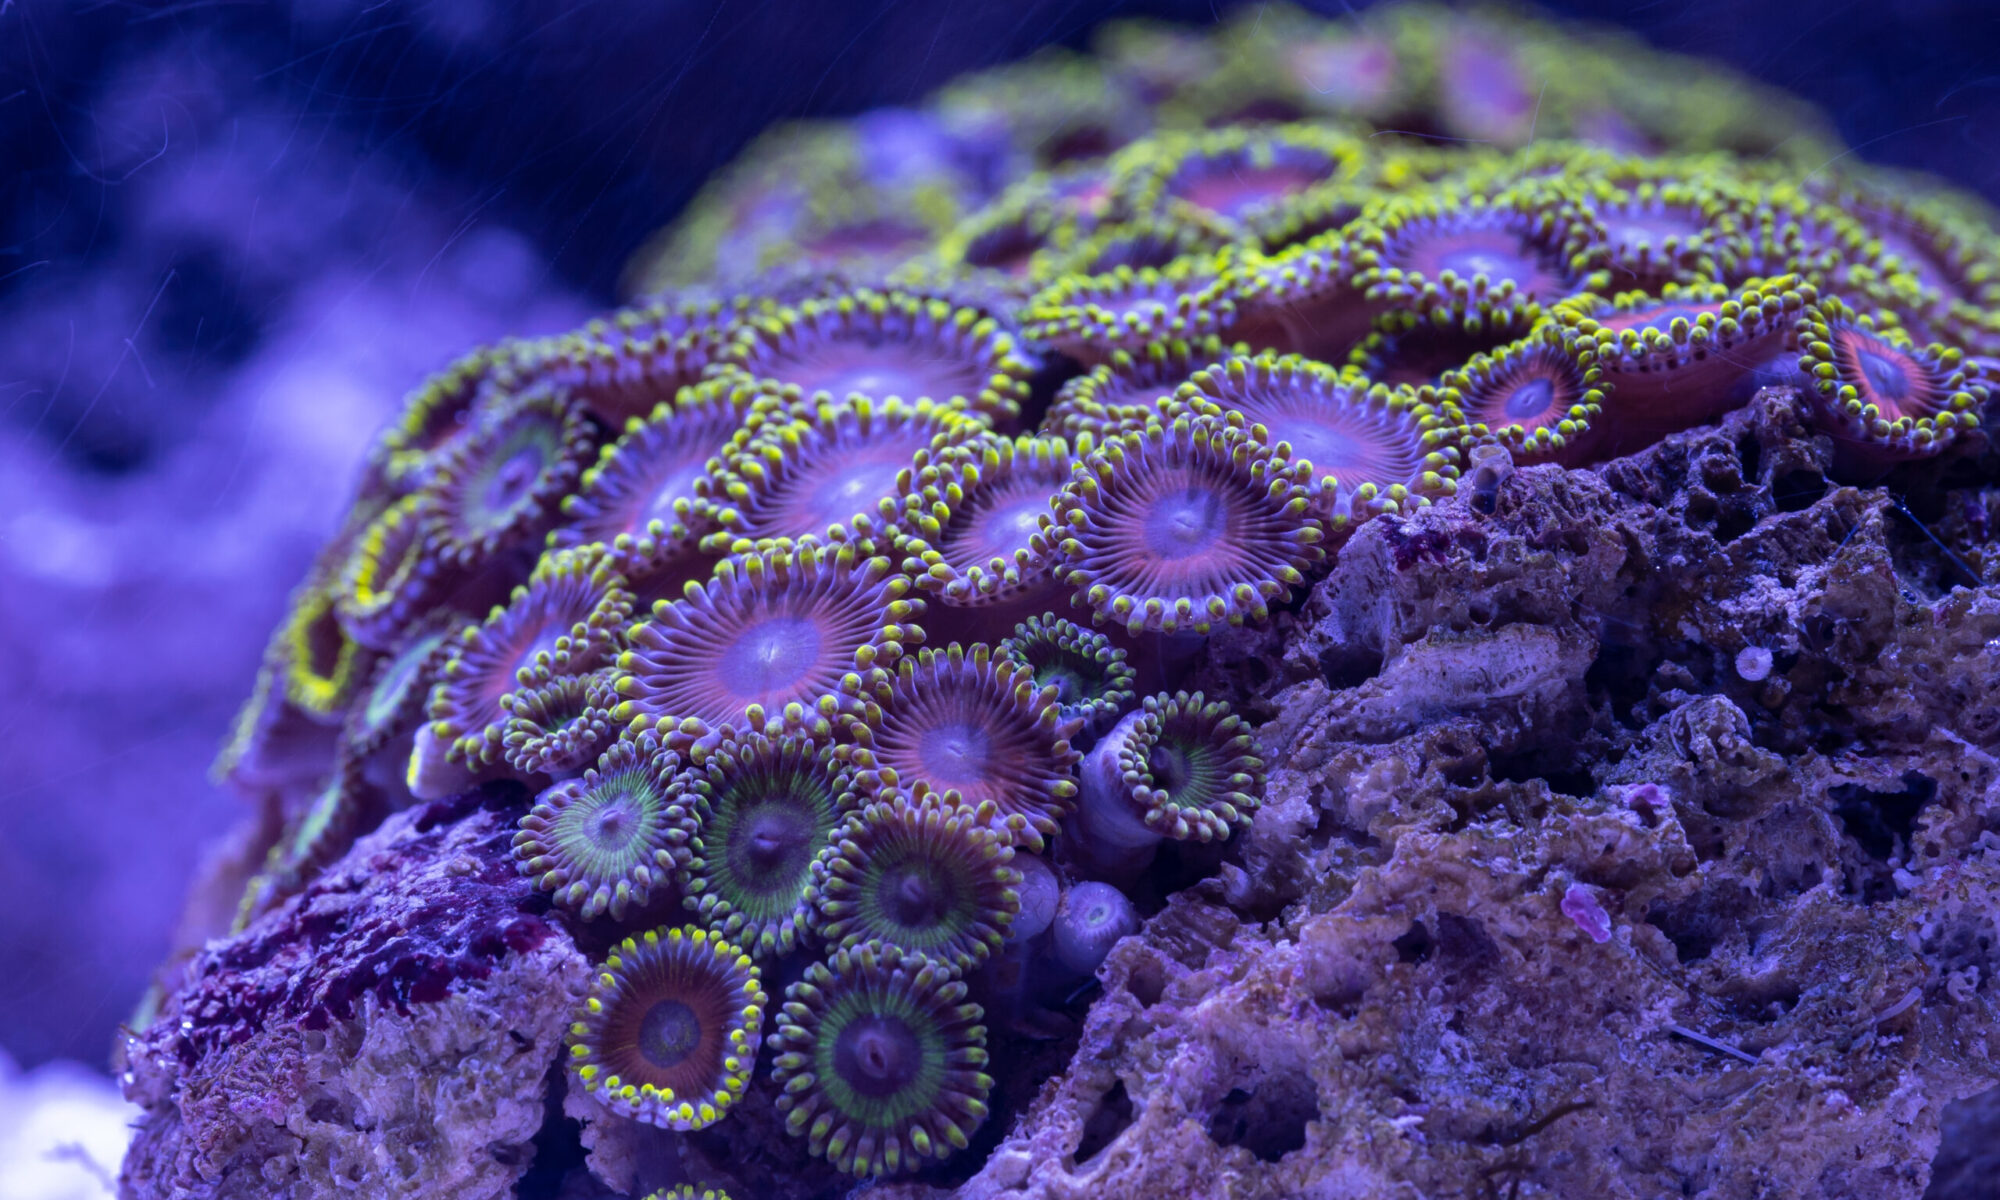
Will be posting some tank pics soon, if you want close ups you can find them on Flickr. I have some pics from 2013 as well timestamps can be found in the exif data.